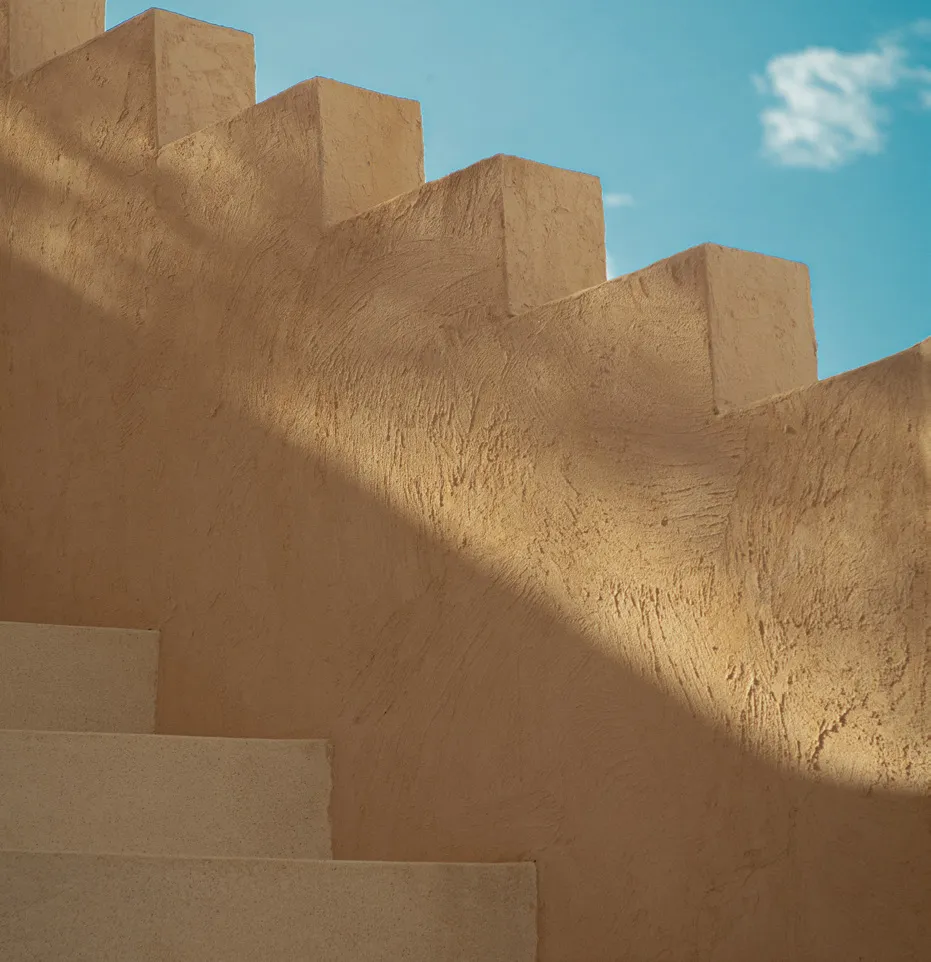
The system in two layers
A lime plaster wall is built in layers that each do a job. Insulcote is the base coat: a lime render with plant fibres that adds thermal resistance, breathability and crack resistance. It is applied 2 to 30 mm thick, straight onto brick or rough plaster.
Purecote is the finish: an all-round lime plaster for smooth or textured surfaces, applied 0.5 to 10 mm thick. With a sealant it is also suitable for bathrooms and showers.
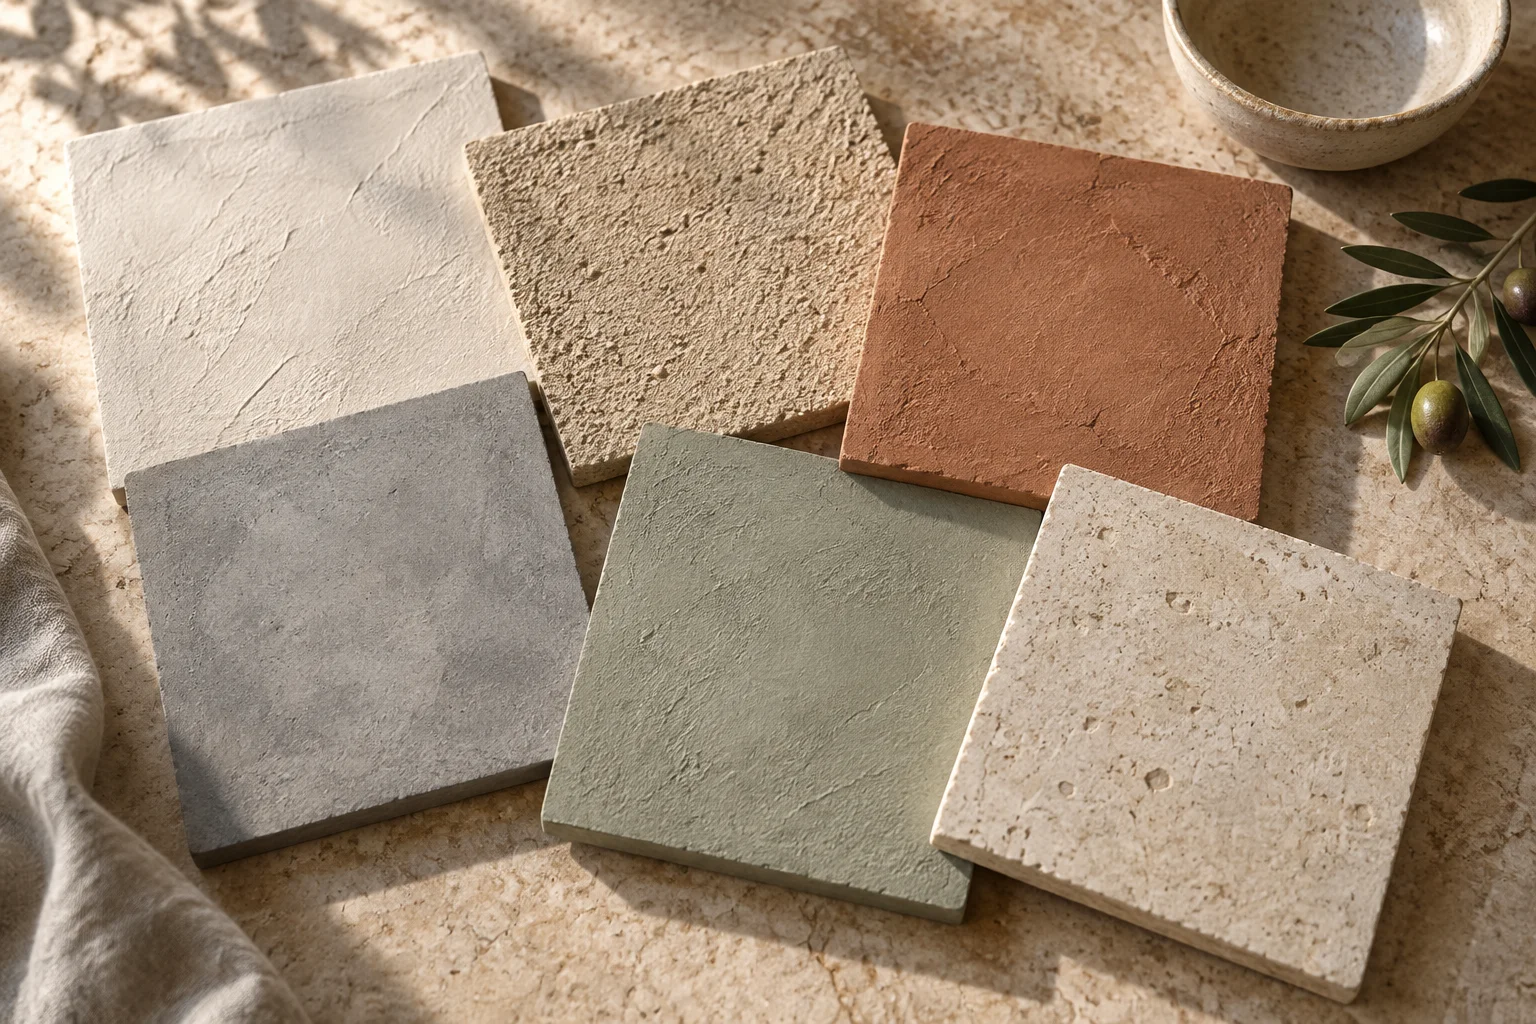
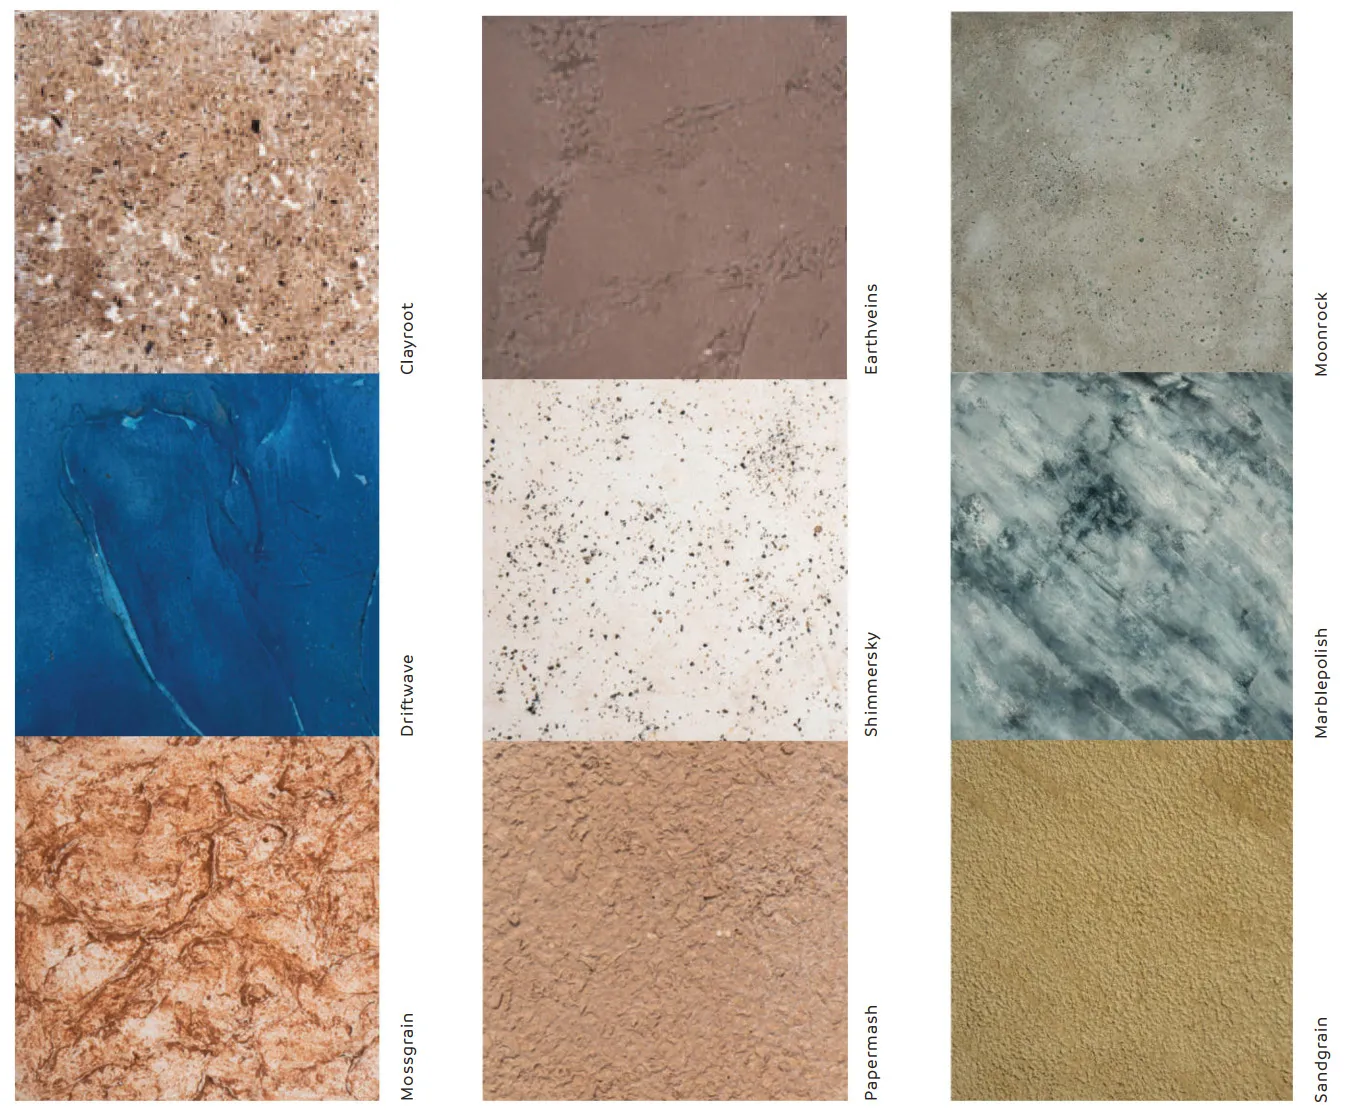
Not sure about the texture? Order a lime plaster sample board first and hold it against your floor and furniture.
Safety first
Lime is strongly alkaline while it is wet. It can irritate skin and seriously hurt eyes.
- Wear rubber gloves, long sleeves and safety glasses, especially when mixing powder and working overhead.
- Keep clean water nearby. If lime gets in your eyes, rinse with plenty of water for several minutes and get medical help.
- Mix powders outdoors or in a ventilated space and avoid breathing the dust.
- Keep children and pets away until the surface is dry.
1. Prepare the wall
- Lime plaster bonds best to rough, porous masonry: brick, block or old render.
- Remove dust, loose material, paint and anything oily. Smooth or painted walls need a bonding primer or a mechanical key first. Ask us if you are unsure.
- Fix fibreglass mesh over joints between different materials, around window corners and over any cracks.
- Dampen the wall the evening before and again just before you start. Masonry that is too dry sucks the water out of the lime and causes cracks.
2. Mix the Insulcote base
- Add the powder to clean water, not the other way round, using the ratio on the bag.
- Mix with a drill and paddle for several minutes until smooth, let it rest for a few minutes, then mix again briefly.
- Mix only what you can apply in about an hour, and don't add water to mix that has started to stiffen.
3. Apply the base coat
- Press the first pass firmly onto the wall with the steel trowel so it bonds well.
- Build up to the thickness you need. A few millimetres is enough to even out the surface; thicker coats add insulation. Apply thick builds in several passes rather than one heavy coat.
- While it is firm but not hard, scratch the surface lightly with the edge of the trowel or a comb so the finish coat has something to grip.
- Keep the base coat damp by misting it 2–3 times a day while it cures. Lime cures slowly and needs moisture. Allow at least a day or two, and longer for thick coats, before the finish.
Coverage guide: one bag of Insulcote covers up to 4 m² at 3 mm thick.
4. Apply the Purecote finish
- Mist the base coat so it is evenly damp, not wet.
- Mix the Purecote the same way as the base. Tinted Purecote can be ordered pre-coloured to keep the colour consistent across the wall.
- Apply a thin first coat with the trowel, then a second coat while the first is still soft.
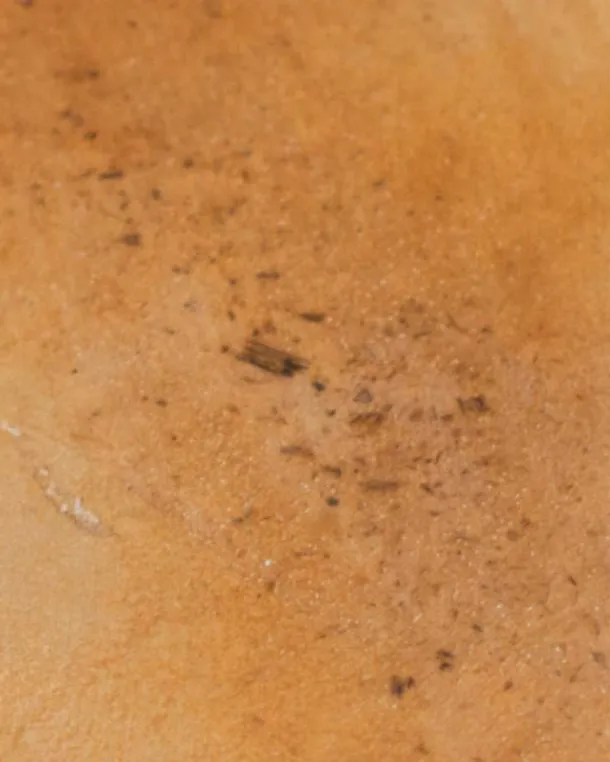
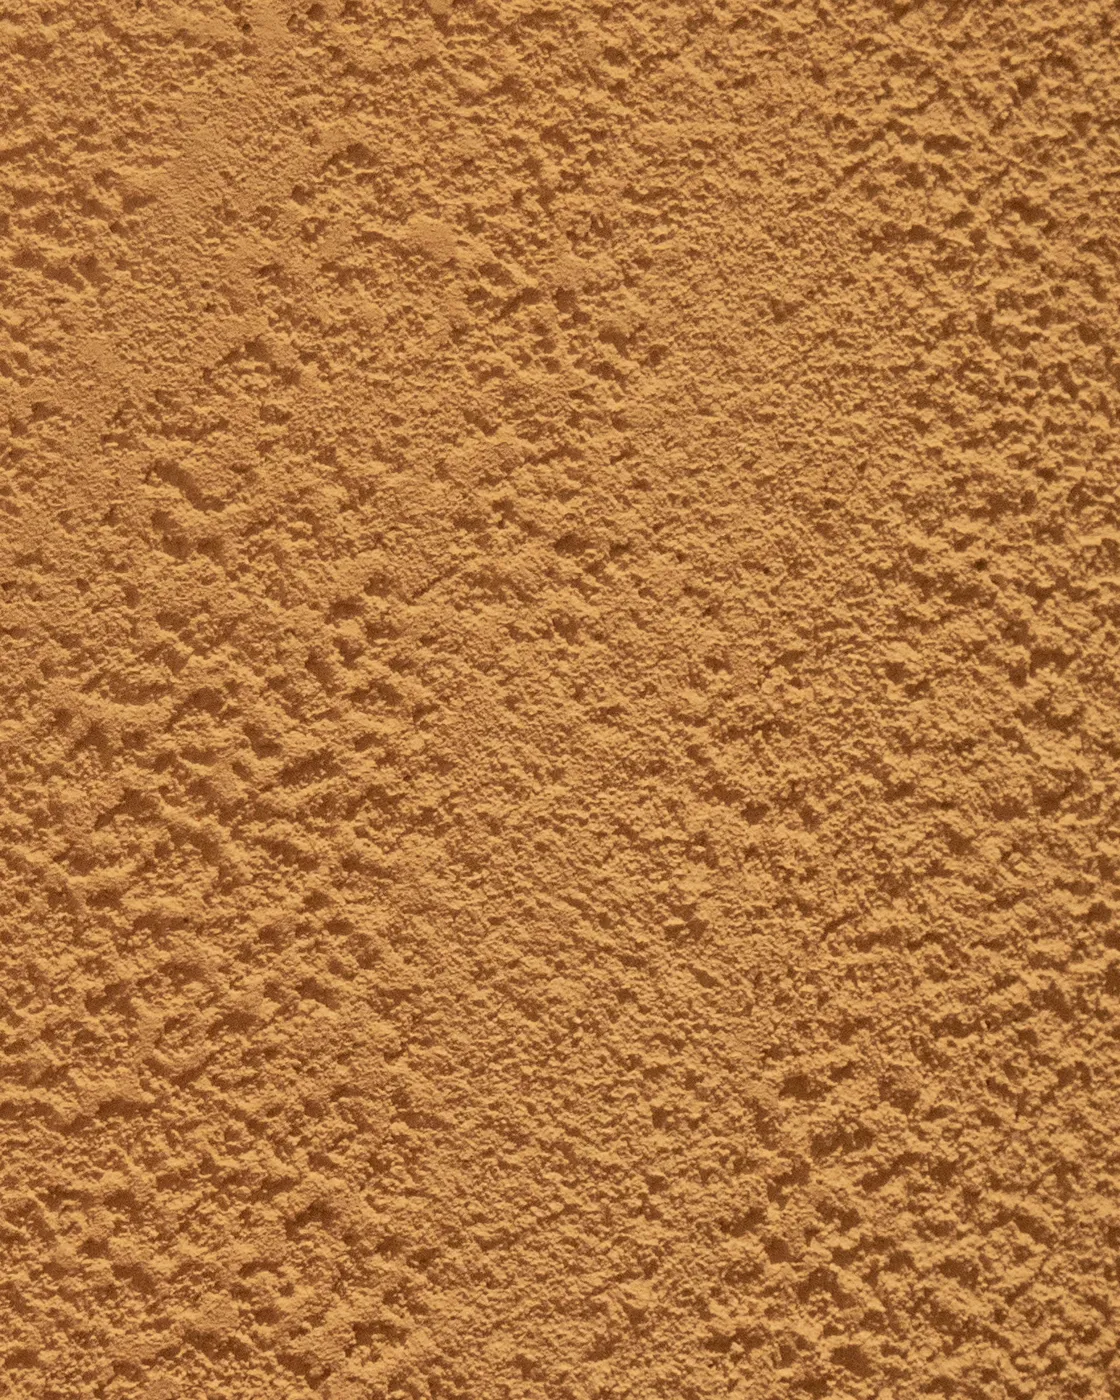
- Shape the texture as it begins to firm up: a sponge float for a soft sandy look, loose trowel strokes for movement, or repeated passes with a plastic trowel for a smoother, slightly polished surface.
Coverage guide: one bag of Purecote covers up to 8 m² at 3 mm thick.
5. Cure slowly
- Protect the wall from direct sun, wind and rain while it cures. Fast drying is the main cause of cracks.
- Mist the finish lightly for the first few days.
- The colour lightens and evens out as the lime carbonates over the following weeks.
When to call a professional
Small feature walls are a good first project. Large areas, ceilings, wet zones, floors and exterior façades are harder to get right and benefit from experience. Our team offers installation from ฿700 per m² for textured plaster, and two-hour on-site training sessions if you would like to learn the technique on your own wall.