Why limewash
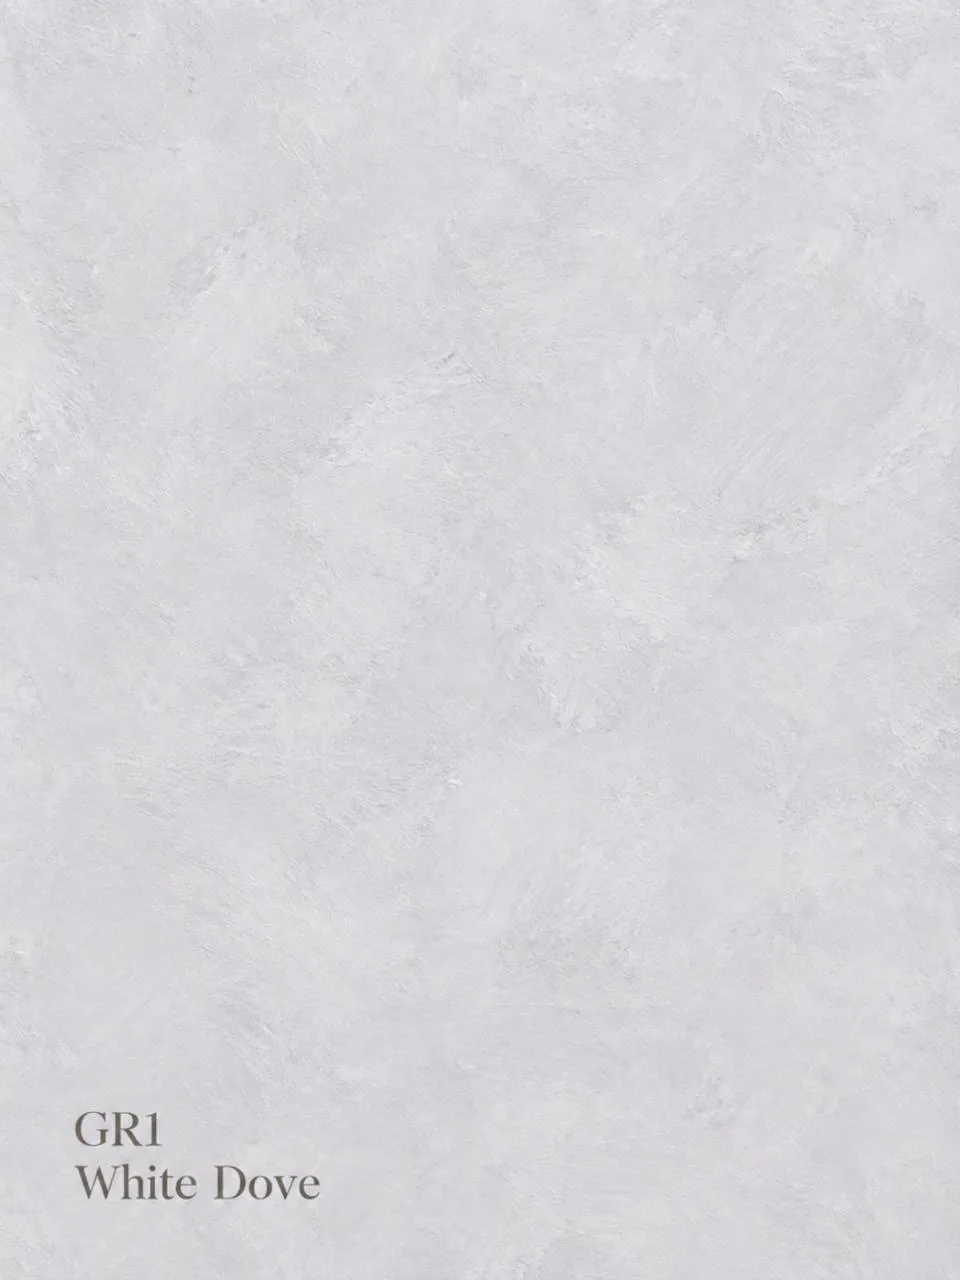
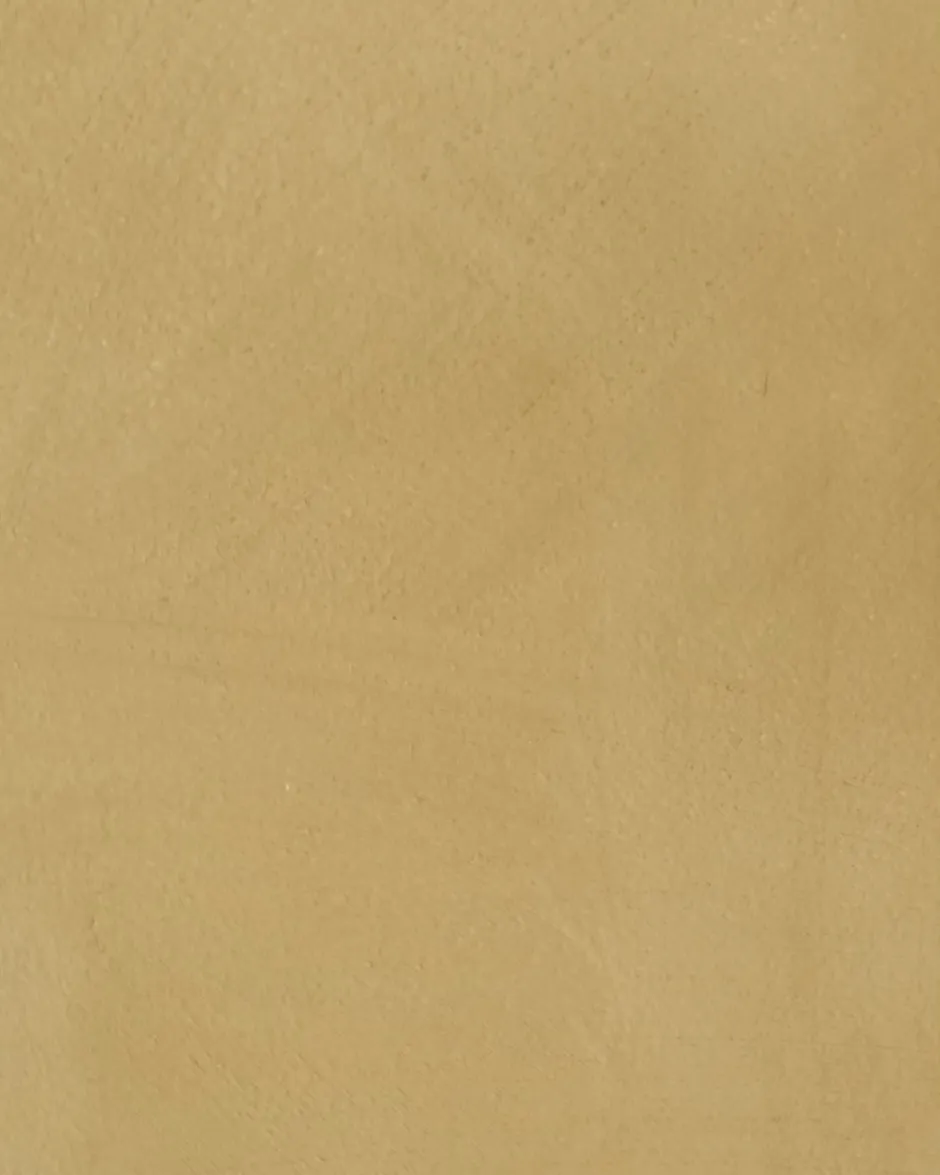
Limewash is a natural paint made from pure limestone. It soaks into the surface instead of forming a plastic film, so the wall can breathe. That helps prevent mould and damp in a humid climate. The finish is soft and chalky, with gentle movement from the brush that changes with the light through the day.
It is applied in very thin layers, under 1 mm in total, on interior and exterior walls and ceilings.
Safety first
Lime is strongly alkaline while it is wet. It can irritate skin and seriously hurt eyes.
- Wear rubber gloves, long sleeves and safety glasses, especially when mixing powder and working overhead.
- Keep clean water nearby. If lime gets in your eyes, rinse with plenty of water for several minutes and get medical help.
- Mix powders outdoors or in a ventilated space and avoid breathing the dust.
- Keep children and pets away until the surface is dry.
1. Test the colour first
Limewash dries much lighter than it looks wet, and the same colour reads differently in shade and in sun. Brush a test patch with a 250 ml sample pot on the wall you plan to finish. Look at it the next day, in daylight and again in the evening, before ordering full pails.
Paint the test patch at least 50 × 50 cm. Small dabs are hard to judge.
2. Prepare the surface
- Limewash suits porous mineral surfaces: render, plaster, brick, concrete and unpainted cement board.
- Brush off dust, loose material and flaking paint. Fill cracks and let the filler dry.
- Wash off any grease or mould, then let the wall dry.
- Mask skirtings, sockets, window frames and the floor. Limewash splashes etch glass and stone if they are left to dry.
3. Prime the wall
A primer gives the limewash something to grip and makes the colour read evenly. Use the tinted Limewash Primer on most new walls and on anything previously painted with acrylic or plastic paint. Use the white primer powder if you prefer to mix on site.
Apply one even coat and let it dry fully before limewashing. Check the drying time on the product label.
4. Mix and dampen
- Stir the limewash thoroughly from the bottom of the pail. The pigment settles, so stir again every 15–20 minutes while you work.
- If you are using powder, mix it with clean water exactly as the label says and let it stand before use.
- Lightly mist the wall with water just before you brush. A slightly damp surface stops the limewash drying too fast and gives a better bond. The wall should be damp, not running wet.
5. Brush the first coat
- Work in sections of about one square metre, keeping a wet edge so the joins blend.
- Use loose, overlapping crisscross strokes (an X pattern) rather than straight lines. This creates the soft, cloudy movement limewash is known for.
- Brush the limewash in well and avoid heavy build-up. Thin coats look better and last longer.
- Finish a whole wall in one session and stop only at a corner, so you don't get visible stop lines.
6. Second and third coats
Let each coat dry before the next. In a warm climate that is usually a few hours to overnight, depending on humidity. Mist the wall lightly again before each coat.
Two coats give a soft, mottled look. A third coat gives a deeper, more even colour. Expect the colour to keep lightening for a few days as the lime cures.
Coverage guide: a 20 L pail covers up to 80 m², a 10 L up to 40 m² and a 5 L up to 20 m², depending on the surface and number of coats.
7. Let it cure
- Avoid painting in direct strong sun, in the rain, or on very hot walls. Early morning or shaded walls are best.
- Protect exterior walls from rain for at least 24–48 hours.
- Limewash keeps hardening for weeks as it absorbs carbon dioxide from the air. Treat it gently for the first month.
Do you need to seal limewash?
Usually not. Interior walls are normally left unsealed so they stay fully breathable. In splash zones, such as behind a basin, a breathable sealer helps. See our guide to sealing and caring for mineral finishes.